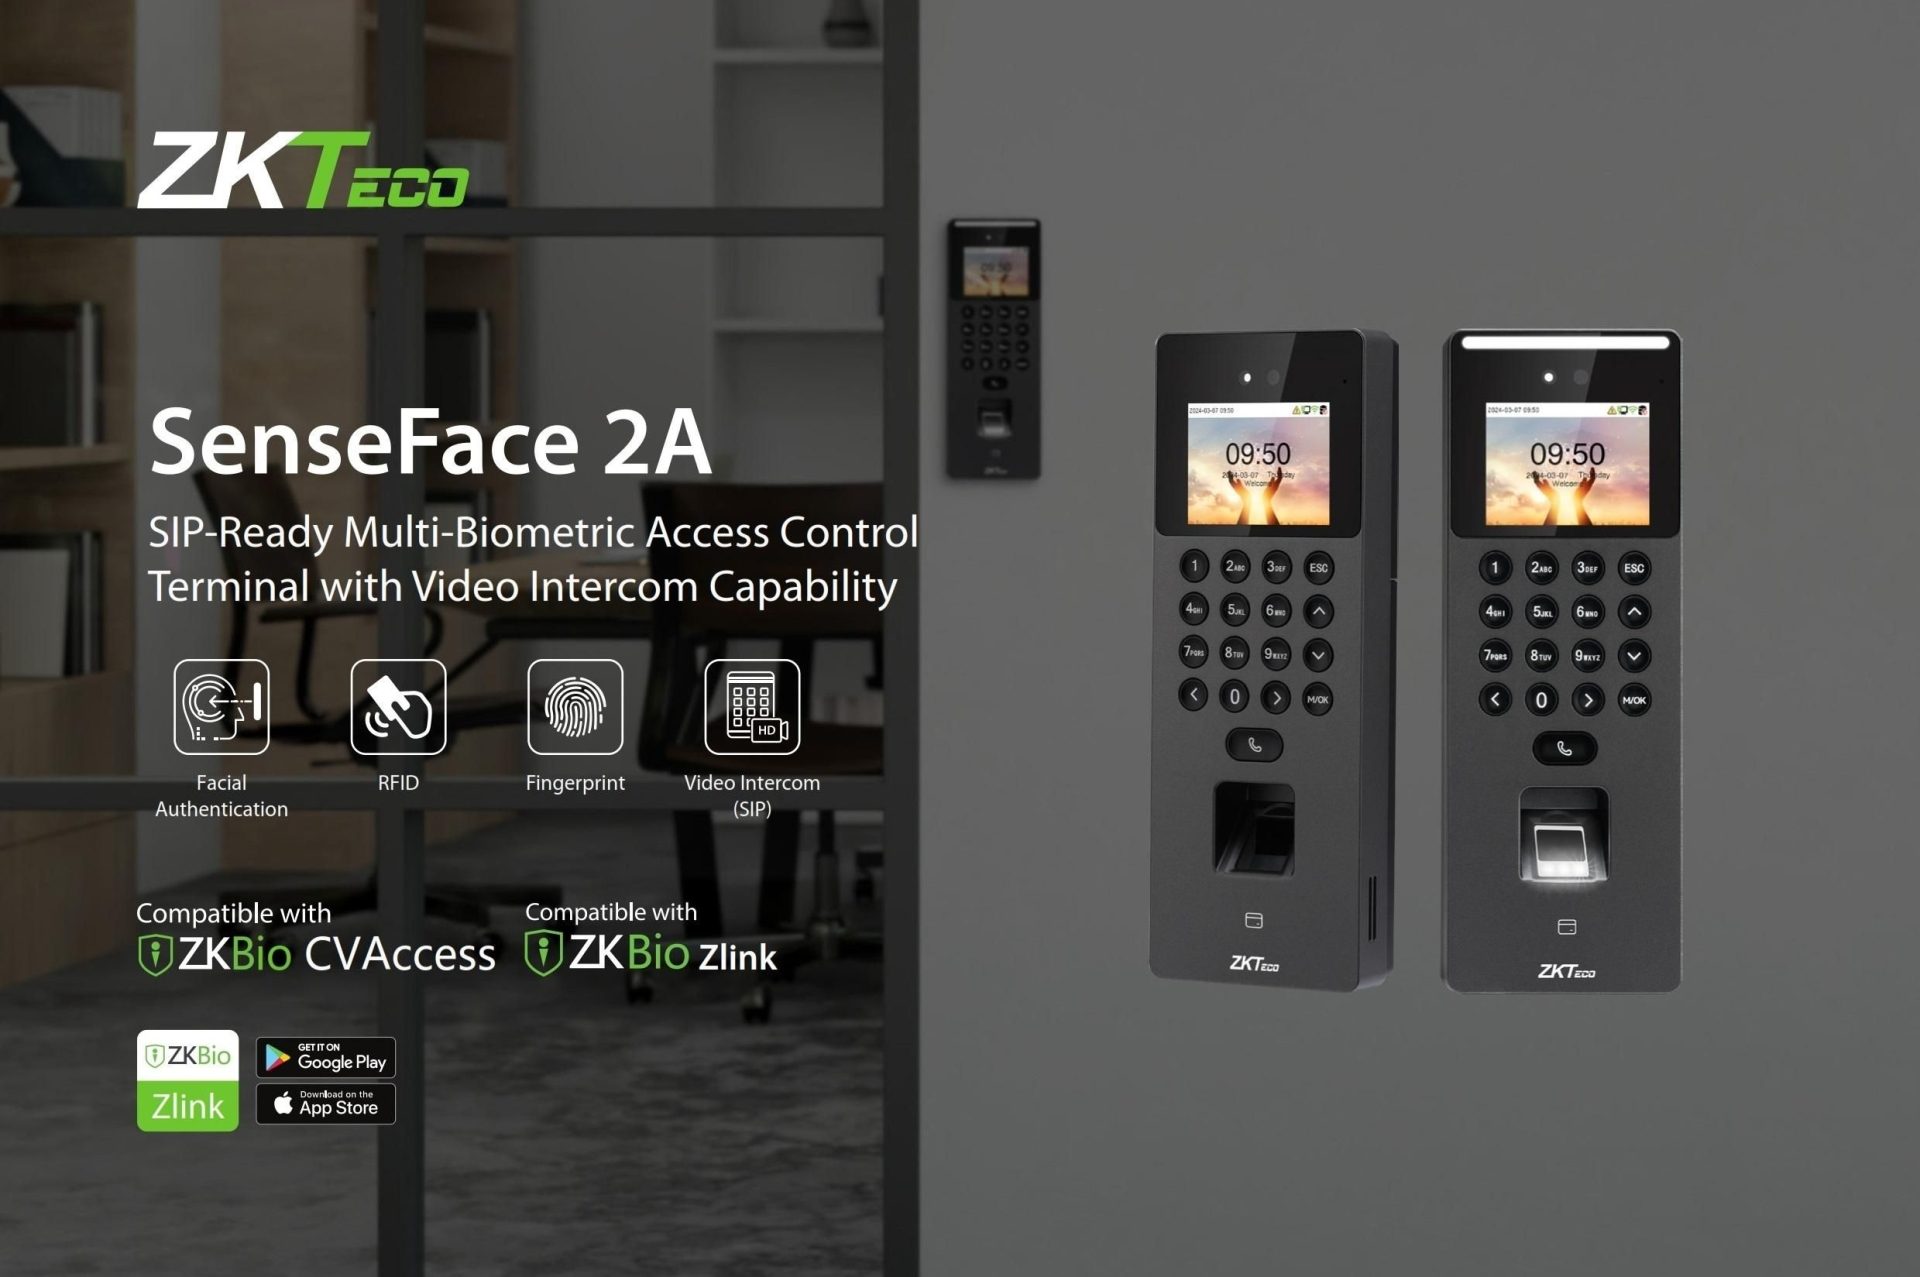
The ZKTeco Senseface 2A is a modern facial recognition terminal widely used for access control (securing doors) and employee attendance tracking. While the device is highly intuitive, adding a new user for the first time can feel a bit tricky if you’re unfamiliar with its menu.
In this guide, we’ll provide a clear, step-by-step walkthrough on how to add a user to the Senseface 2A. Whether you’re an HR manager, security officer, or system admin, you’ll be able to follow along easily.
What You’ll Need Before You Start
- ZKTeco Senseface 2A device – powered on and idle on the main screen.
- Administrator access – you will need the admin password (default is often
123456or as set by your installer). - The person to be registered – they must be physically present for facial capture.
- Optional: RFID card or PIN code if you want alternative verification methods.
1. Access The Main Menu
- Tap the screen to wake the device if it is asleep.
- Swipe down from the top edge or tap the menu icon (usually three horizontal lines or a grid of dots).
- You will be prompted to enter the admin password. Type it in and tap OK or Confirm.
2. Go To User Management
- From the main menu, look for an option labeled:
- User Management
- User Info
- Personnel Management (depending on firmware version)
- Tap on it.
- Inside the user management screen, tap Add User or the + (plus) icon to begin registration.
3. Enter Basic Information
You will see a form. Fill in at least the required fields:
- User ID – This is mandatory. Use a unique number (e.g., employee ID:
1001). No two users can share the same ID. - Name – Optional but recommended. Type the person’s full name so you can identify them later in logs.
- Department – Optional. Assign a department if your system uses this feature.
4. Register The Face (Primary Method)
The Senseface 2A’s main strength is facial recognition. Follow these steps carefully:
- Select Face Registration or Register Face.
- The user should stand directly in front of the camera, approximately 0.5 to 1 meter (about 1.5–3 feet) away.
- Ask the user to:
- Look straight at the camera.
- Keep a neutral expression (no wide smiles or frowns).
- Remove sunglasses, masks, or heavy hats that cover the face.
- Follow the on-screen prompts – the device may ask the user to:
- Blink once.
- Slightly turn their head left and right.
- Wait for a green checkmark or a success message. This means the face template has been captured and stored.
5. Add Alternative Verification Methods (Optional)
While not required, adding a backup method is highly recommended in case the face sensor fails (e.g., due to injury or lighting issues).
- PIN / Password – Select this option and enter a numeric code (usually 4–8 digits). The user will need to remember this number.
- Card – Choose this option, then tap or swipe a compatible RFID card (like an employee badge) against the card sensor area on the device.
You can add all three methods (face, PIN, card) to a single user.
6. Assign User Role and Permissions
This step is especially important for access control.
- Find User Role or Privilege Level.
- Choose from typical options:
- Normal User – Can only verify and gain access/log attendance.
- Administrator – Can access menus and manage other users (use sparingly).
- Custom – Define specific time zones or door access groups.
- If your system uses access groups or time zones, assign the appropriate one now.
7. Save The New User
- Double-check all entered information (User ID, name, registered face, optional PIN/card).
- Tap Save, Confirm, or the checkmark icon at the bottom or top right of the screen.
- The device will return to the user list, and you should see the new user’s name or ID in the list.
8. Test The Registration
Always test immediately after adding a user:
- Return to the main idle screen.
- Have the user look at the camera from a normal standing distance.
- The device should:
- Recognize the face within 1–2 seconds.
- Display the user’s name or ID.
- If set up for access control – unlock the door or grant access.
- If set up for attendance – record the timestamp.
- Also test any backup methods (PIN entry or card tap) to ensure they work.
Tips For Best Facial Recognition Performance
| Tip | Why It Helps |
|---|---|
| Keep the camera lens clean | Dust or smudges reduce image quality. |
| Ensure even, moderate lighting | Harsh shadows or overexposure cause false rejects. |
| Register face in the same environment where verification will happen | Consistency improves matching accuracy. |
| Re-register if the person changes appearance significantly (e.g., grows a beard, gets glasses) | The stored template may become outdated. |
| Set a minimum face quality threshold (in admin settings) if you experience many false rejects | This balances security vs. convenience. |
Troubleshooting Common Issues
| Problem | Likely Cause | Solution |
|---|---|---|
| “Face quality too low” or “Registration failed” | Poor lighting, distance wrong, or obstruction | Adjust lighting, have user move closer/farther, remove mask/glasses. |
| Device does not enter menu | Admin password incorrect or not entered | Re-enter carefully or contact your administrator. |
| Duplicate ID error | User ID already exists | Choose a different unique ID. |
| User not recognized after saving | Face template not saved properly | Delete the user and re-register from step 4. |
| Card tap does nothing | Card type not supported or not assigned | Ensure card is compatible (e.g., 125kHz or 13.56MHz). Try re-assigning in user edit mode. |
| Cannot see “Add User” option | Logged in with a non-admin account | Log out and log in with admin credentials. |
Frequently Asked Questions (FAQ)
Q: How many users can the Senseface 2A store?
A: It typically stores up to 1,000–2,000 face templates (depending on firmware and storage allocation).
Q: Can I add a user remotely?
A: Not directly from the device’s local interface. However, if the device is connected to ZKTeco’s ZKAccess or BioTime software, you can add users from a computer and sync to the device.
Q: What if the person wears glasses?
A: They can keep them on for registration, but thick-framed or very dark lenses may reduce accuracy. Registering both with and without glasses (if firmware allows multiple templates) is ideal.
Q: Can I add a user without their face?
A: Yes – you can skip face registration and only add a PIN and/or card. However, that defeats the main purpose of the Senseface 2A.
Conclusion
Adding a user to the ZKTeco Senseface 2A is a simple process once you know where to find the menu options. The key steps are:
- Enter admin menu (password required)
- Go to User Management → Add User
- Enter User ID
- Register face with good lighting and correct distance
- Add optional PIN/card
- Assign role (Normal or Admin)
- Save and test
With this guide, you should be able to onboard new employees or residents in under two minutes per person. If your device interface looks slightly different, the core logic remains the same – just look for similar labels.
For more advanced features like backup synchronization, remote management, or report generation, consult your ZKTeco supplier or the official user manual.
Looking For ZKTeco SenseFace 2A Access Control?
If your are looking for ZKTeco SenseFace 2A Access Control System in Malaysia, VSH Technology is the right choice to get the supplies. Contact us today! We distribute security systems and solutions for your peace of mind.